Pressure washing is a powerful technique for cleaning surfaces before painting, staining, or just refreshing their appearance. However, proper preparation before pressure washing ensures you achieve the best results. Here are essential steps to prepare surfaces effectively:
1. Clear the Area
Before starting, remove any obstacles such as furniture, decor, or items that could obstruct the pressure washing process. Clearing the area ensures you have unobstructed access and prevents potential damage to objects.
2. Inspect and Repair
Thoroughly inspect the surface for any damage like cracks, peeling paint, or loose siding. Addressing these issues before pressure washing prevents further damage and ensures a smoother cleaning process.
3. Sweep or Brush Surfaces
Use a broom or brush to sweep away loose dirt, dust, and cobwebs from the surface. This initial cleaning step helps prevent debris from clogging the pressure washer and ensures a more effective wash.
4. Protect Surroundings
Cover nearby plants, sensitive surfaces like windows or light fixtures, and electrical outlets to prevent damage from the pressure washing stream. Use plastic sheeting or drop cloths to shield these areas.
5. Soak and Pre-Treat Stains
For stubborn stains like oil spots or bird droppings, pre-treat the area with a suitable cleaning solution or detergent. Allow the solution to soak in according to the manufacturer’s instructions before pressure washing.
6. Choose the Right Pressure Washer
Select a pressure washer appropriate for the surface material and the cleaning task. For example, delicate surfaces like wood may require lower pressure settings to avoid damage, while concrete or brick can withstand higher pressures.
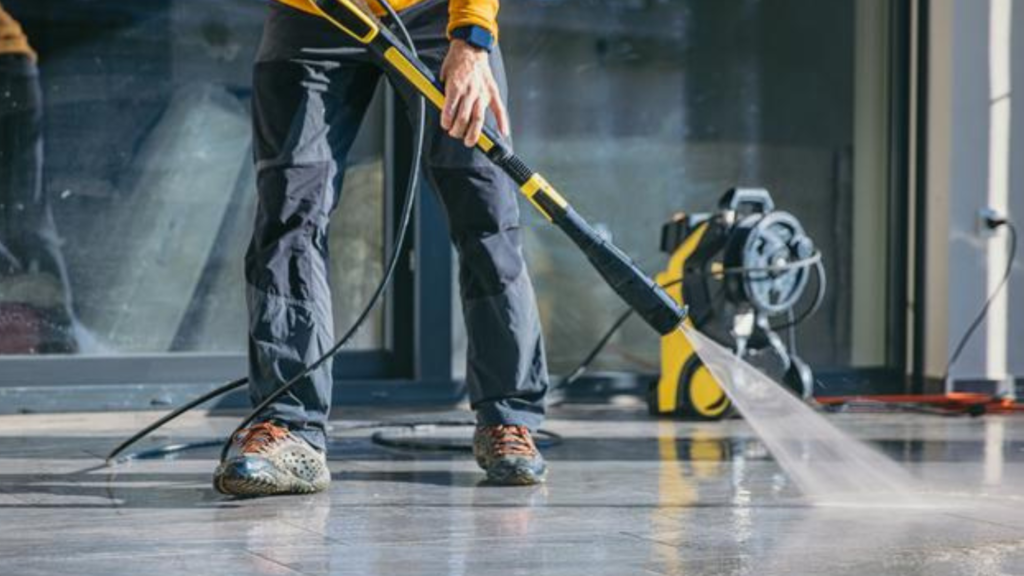
7. Adjust Pressure and Nozzle
Before starting, adjust the pressure washer settings. Begin with a lower pressure setting and test a small inconspicuous area to ensure it effectively cleans without causing damage. Adjust the nozzle for a wider spray pattern for larger areas and a narrower one for precise cleaning.
8. Use Proper Technique
Hold the pressure washer wand at a consistent distance from the surface, typically 1-2 feet, and maintain a steady sweeping motion. Avoid spraying directly at seams, edges, or fragile areas to prevent damage.
9. Work in Sections
Divide larger surfaces into manageable sections to ensure thorough cleaning and consistent results. Work systematically from one end to the other, overlapping each pass slightly to avoid streaks or missed spots.
10. Rinse Thoroughly
After cleaning, rinse the surface thoroughly with clean water to remove any remaining detergent or debris. Proper rinsing ensures a clean finish and prevents streaking or residue buildup.
11. Allow Drying Time
Allow the surface to dry completely before proceeding with painting, staining, or any other treatments. Drying time varies depending on weather conditions and the surface material but typically ranges from a few hours to a full day.
Conclusion
Properly preparing surfaces before pressure washing is essential for achieving optimal cleaning results and protecting the integrity of your property. By following these essential steps, you ensure a smooth and effective pressure washing process that enhances the appearance and longevity of your surfaces.