Pressure washing your driveway is a practical way to maintain its cleanliness and enhance the overall appearance of your home. Here’s a detailed guide on how to effectively pressure wash your driveway:
Step 1: Gather Your Equipment
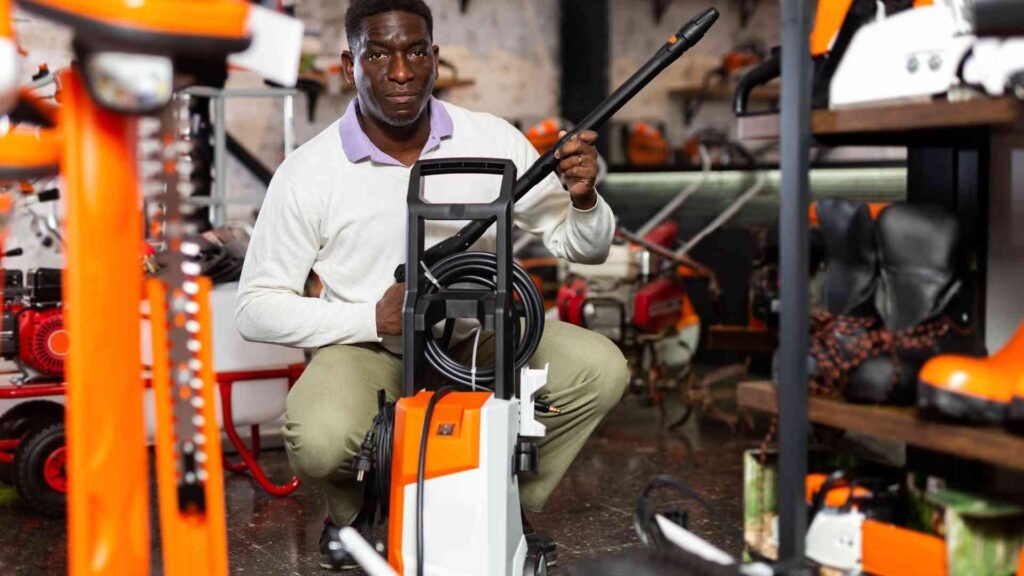
Before you begin, gather all the necessary equipment:
- Pressure Washer: Choose a washer with appropriate PSI and GPM ratings for concrete surfaces.
- Safety Gear: Wear goggles, gloves, and closed-toe shoes to protect yourself from debris and water splashback.
- Cleaning Solution: Use a suitable driveway cleaner or detergent for better results.
- Extension Cords: If using an electric pressure washer, ensure you have sufficient extension cords.
- Water Source: Connect your pressure washer to a water supply with a garden hose.
Step 2: Prepare the Area
Clear the driveway of any obstacles such as vehicles, toys, or debris. Sweep the surface thoroughly to remove loose dirt and debris. Cover nearby plants or delicate surfaces to protect them from overspray and cleaning chemicals.
Step 3: Apply the Cleaning Solution (if needed)
If your driveway has stubborn stains or oil spots, apply a suitable cleaning solution or detergent. Follow the manufacturer’s instructions for dilution and application. Allow the cleaner to sit for a few minutes to penetrate and loosen the grime.
Step 4: Connect and Start the Pressure Washer
Connect the pressure washer to the water supply and power source (if electric). Attach the appropriate nozzle for driveway cleaning—a 25-degree nozzle is often recommended for concrete surfaces. Start the pressure washer according to the manufacturer’s instructions.
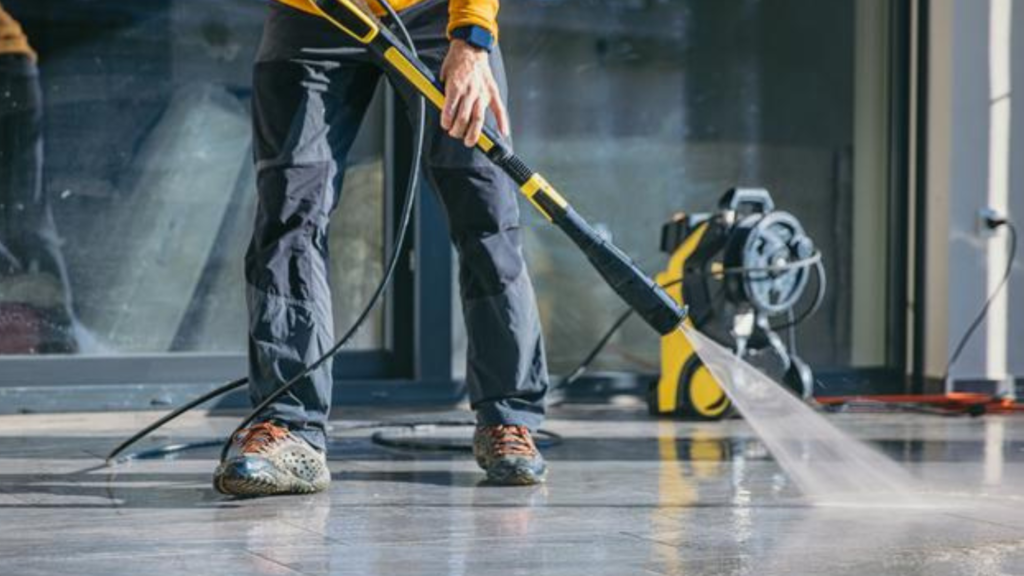
Step 5: Begin Washing
Hold the spray wand firmly and maintain a consistent distance (usually around 6-12 inches) from the surface. Start washing from one end of the driveway and work your way towards the other end in a systematic pattern, such as overlapping rows. Keep the nozzle moving to prevent streaks or uneven cleaning.
Step 6: Rinse Thoroughly
Once you have cleaned the entire driveway, switch to a plain water nozzle (usually a 40-degree nozzle) to rinse off any remaining cleaner and debris. Rinse from the highest point of the driveway downwards to ensure thorough cleaning.
Step 7: Check for Remaining Stains
Inspect the driveway for any remaining stains or spots. For tough stains like oil spills, you may need to spot treat with a degreaser or repeat the pressure washing process.
Step 8: Allow to Dry
Allow the driveway to dry completely before allowing foot traffic or vehicles onto the surface. Depending on weather conditions, this may take a few hours to a full day.
Step 9: Clean and Store Your Equipment
After use, clean the pressure washer and accessories according to the manufacturer’s instructions. Proper maintenance ensures your equipment remains in good condition for future use.
Conclusion
Pressure washing your driveway is an effective way to maintain its cleanliness and improve your home’s curb appeal. By following this step-by-step guide and using the right equipment and techniques, you can achieve professional-level results. Regular maintenance with pressure washing helps prolong the life of your driveway and keeps it looking its best. So, roll up your sleeves and give your driveway a fresh, clean start!